Here in Ontario, the cold weather can sneak up on you fast. One minute you’re enjoying the fall colours, the next you’re bracing for a hard frost. That sudden drop in temperature is tough on your home’s plumbing, especially your outdoor faucets.
Winterizing is all about preventing water from freezing, expanding, and bursting your pipes. A single burst pipe can cause thousands of dollars in water damage to your walls, ceilings, and floors. Thankfully, protecting your outdoor taps is a quick and easy job that can save you a world of trouble. Here’s your step-by-step guide.
Step 1: Disconnect Everything!
This is the most important step, and it’s non-negotiable for every type of faucet, even “frost-proof” models. Before the first freeze, you must disconnect all hoses, splitters, and any other fittings from your outdoor spigots. If you leave a hose attached, it traps water inside the faucet, making a freeze-up almost guaranteed. It’s tempting to use the hose until the last possible minute, but it’s best to be proactive—one cold night is all it takes to cause a break.
Step 2: Inspect for Leaks and Drips
Take a moment to check each faucet for any leaks or drips. A dripping tap indicates a worn-out washer or cartridge. In the winter, that slow drip can freeze solid inside the pipe, creating a blockage that can lead to a burst. If you spot a leak, it’s best to get it repaired before the freezing weather sets in for good.
Step 3: Shut Off the Water and Drain the Pipe
Now it’s time to get the water out of the pipe leading to the faucet.
- Find the indoor shut-off valve for the outdoor tap. It’s usually a small lever or round handle on a pipe in your basement or crawl space.
- Turn the valve to the “off” position.
- Go back outside and open the faucet. Let any remaining water drain out completely.
- Leave the outdoor faucet open for the entire winter. This allows any trapped water to escape and relieves pressure if freezing does occur.
A note on Frost-Proof Faucets: These are designed to keep the water shut-off point deep inside your warm house, so this step isn’t usually necessary for them. However, you still must disconnect the hose.
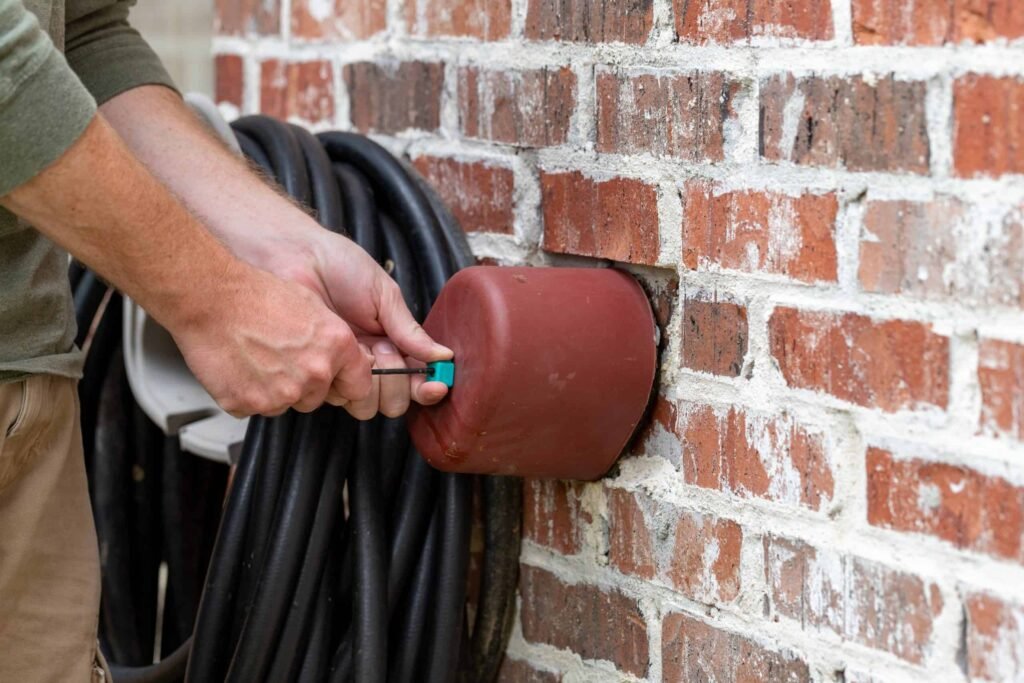
Step 4: Install an Outdoor Faucet Cover
For the final layer of protection, install an insulated cover on every outdoor faucet, including the frost-proof ones. These hard foam domes or soft insulated bags are cheap, easy to use, and incredibly effective. They protect the spigot from harsh winds and freezing temperatures. While frost-proof faucets are more resistant to cold, they aren’t invincible against the coldest Canadian winter days—an insulated cover gives you guaranteed peace of mind.
Feeling unsure about any of these steps? The team of professional plumbers in Toronto at Drain Experts Plumbing is always here to help make sure your home is fully protected.